Our guide to your DIY dye kit.
For inspiration, don’t forget to follow our instagram @haelnaturalcolour where you can follow our workshops and life with us on the farm.
FAQs
The Process.
STEP 1 - To make your steamer you can use a pot and place a colander inside or rest a sieve on top with a lid, fill the bottom with water and gently heat, The material will sit in the sieve or colander and steam, it does not need to be submerged into the water.
STEP 2 - Wet your material first, for best results the material should be alittle damp. This will help the bond between fibre and plant material release its colour. Make sure you have wrung out the material so it is not soaking wet.
STEP 3 - Lay out your material and scatter the flowers however you like, I like to imagine as if I am painting with the dye plants, this can be a very meditative process. Cover most of the materials surface area or focus on certain areas. In the video provided, I've covered most of the materials surface area to get overall coverage of colour, but you can play with this and use a little or large number of flowers.
Enjoy this process i's the experimental part!
All the ingredlients are going to help you create something beautiful. Remember you can always re-steam your bundle with more flowers if you want to add to it, less can be more.
You have enough flowers for all the material included.
STEP 4 - Spray or pour small amounts of the vinegar onto the material. The vinegar allows the colour to seep out of the flower and onto the material quicker, it helps speed along the process. Make sure to only use clear vinegar! (Like to use a spray bottle for even coverage, but not essential).
STEP 5 - Start to roll your material, as tight as possible. You will be left with a small bundle. This can be any kind of shape, it just must be tight.
You then want to tightly wrap the string around the bundle, adjusting the shape so the bundle is as compact as possible so it will fit into your makeshift steamer. If your steamer is too small, you can steam one piece at a time.
STEP 6 - Add the bundle to the steamer and gently steam the bundle for two to three hours, you will start to see the colour releasing onto the material.
Think of time as an ingredient, the slower and more gently the steam - the better the results. Rotate the bundle roughly every 15/20 minutes to even out the steam process.
Remember that the center of the material will take longest to steam so dont rush this part.
STEP 7 - Allow the bundle to cool and sit, the longer you leave it the better the colour will hold. I would recommend leaving it overnight (if you can wait!) - this allows all of the colours to secure themselves onto the material. If you cannot wait overnight, leave it to cool, around 1-2 hours.
STEP 8 - Unravel the bundle and compost the ingredients or save to re-use at a later point. Wash under cold water to get rid of any residue material
If you are not 100% satisfied with the result you can bundle up and dye again!
What you’ll need.
Natural Colour is a beautiful and in-depth practice that allows you to connect to our natural world in a deeper, more connected way. From using overlooked plants and food waste in our kitchens, to flowers we grow in our gardens and more traditional ways of obtaining colour, through specific dye plants.
It’s a practice where you can find colour all around you, no matter where you are. Working with your surroundings to be curious. You do not need to be an expert in any way, searching for natural colour is beautiful and once found, it can be powerful. Bundle dyeing is a natural dyeing technique which allows plant material to bleed onto the fabric through a steaming process. It leaves an imprint, a stain.
You will need:
A steamer - colander/ sieve / makeshift steamer
Stainless steel / cooking pot and lid
A heat source - gas /electric hob
Household white vinegar
What is included
Cotton Socks
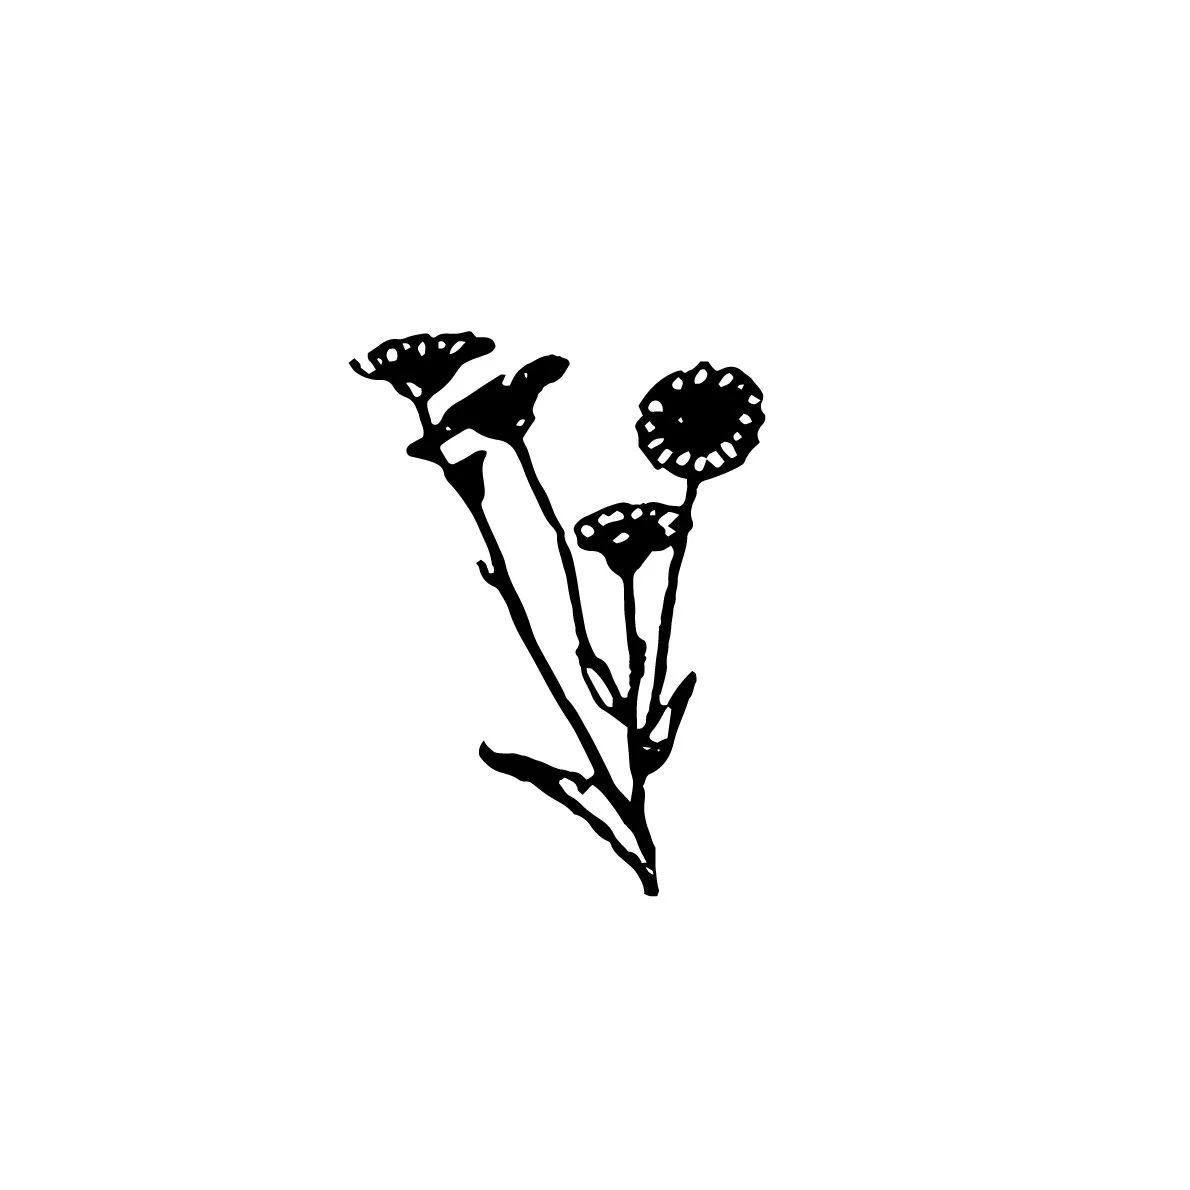
Dye Flowers: Dyers Chamomile, African Marigold,
Scabious Black Night, Coreopsis, Sulfur Cosmos
‘Jute’ Twine
Ph neutral / Eco Detergent
Instructions

